


How to Paint Bathroom Cabinets That Last

A tired vanity can make an otherwise clean bathroom feel dated. Learning how to paint bathroom cabinets is one of the most affordable ways to brighten the room, cover worn finishes, and create a more polished look without tearing out functional cabinetry. The difference between a quick refresh and a finish that chips within months usually comes down to preparation, not the color you choose.
Bathroom cabinets face moisture, steam, fingerprints, splashes, and frequent cleaning. That means this is not a project to rush with one coat of wall paint. With the right cleaning, sanding, primer, and curing time, a painted vanity can provide a dramatic before-and-after transformation for far less than replacement.
Before You Paint, Decide Whether the Cabinets Are Worth Saving
Painting works best when cabinet boxes and doors are structurally sound. Look for solid frames, doors that close properly, and limited surface damage. Small scratches, faded stain, minor chips, and outdated colors are all good candidates for refinishing.
Take a closer look if the vanity has swollen particleboard, loose veneer across large areas, persistent mold, water damage around the sink, or deep cracks in the cabinet structure. Paint can improve appearance, but it cannot repair a cabinet that is failing from moisture exposure. In those cases, repair or replacement may be the smarter long-term investment.
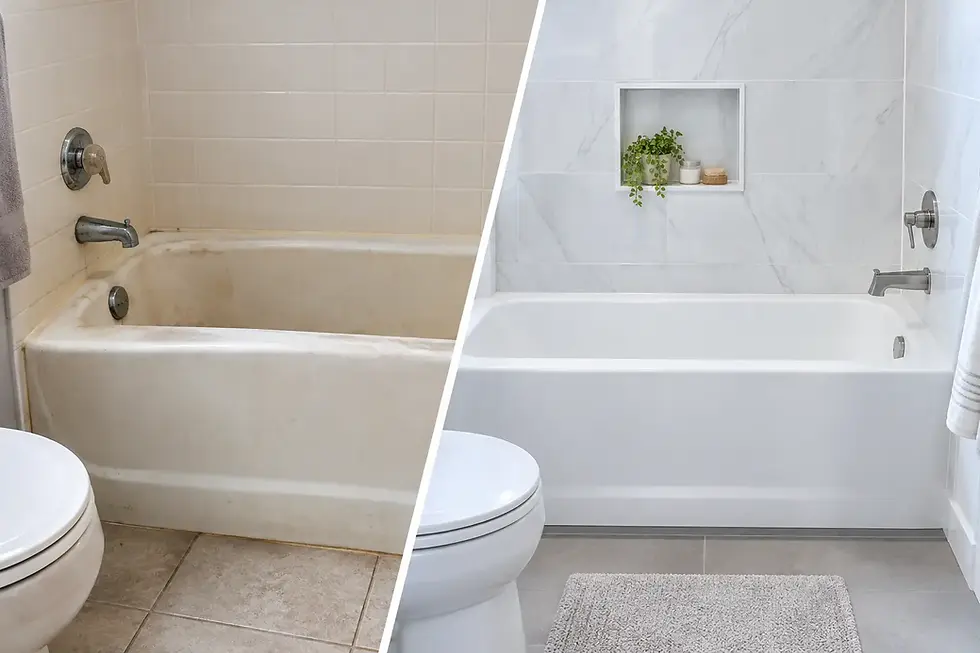
If the cabinets are sound but the bathroom also has worn tile, an old tub, or damaged countertops, consider the room as a whole. Refinishing existing surfaces can often create a coordinated updated look without the demolition, mess, and downtime of a full renovation.
What You Need for a Durable Cabinet Finish
Use products made for cabinets, trim, or high-traffic interior surfaces. Standard flat wall paint is not designed to handle the repeated cleaning and moisture that bathroom cabinetry receives.
For most bathroom cabinet painting projects, gather a degreasing cleaner, screwdriver, painter's tape, drop cloths, 120- to 220-grit sandpaper, wood filler, a stain-blocking or bonding primer, high-quality cabinet paint, an angled brush, and a small foam or microfiber roller. A paint sprayer can produce a very smooth finish, but it requires careful masking and good ventilation. For many homeowners, a brush and roller are more manageable.
Choose a satin or semi-gloss sheen. Satin offers a softer, modern appearance while still being washable. Semi-gloss reflects more light and is especially practical in busy bathrooms because it cleans easily. White remains a popular choice for making compact bathrooms feel brighter, but soft gray, navy, deep green, and warm greige can give a vanity a more custom appearance.
How to Paint Bathroom Cabinets Step by Step
Remove doors, drawers, and hardware
Start by emptying the vanity completely. Remove cabinet doors, drawer fronts when possible, hinges, handles, knobs, and any removable hardware. Label doors and hardware with painter's tape so every piece goes back in the right place.
Removing doors may feel like extra work, but it gives you cleaner edges and prevents paint from building up around hinges. Lay doors flat on supported work surfaces whenever possible. Painting them horizontally helps reduce drips and gives the finish time to level out.
Clean away grease, soap residue, and grime
This is the step people most often underestimate. Bathroom cabinetry collects residue from hand soap, lotions, hairspray, cleaning products, and moisture. Even cabinets that look clean can have a film that prevents primer from bonding properly.
Wash every surface thoroughly with a degreasing cleaner, paying close attention to drawer pulls, door edges, and areas near the sink. Rinse or wipe according to the cleaner instructions, then let the cabinets dry fully. Do not paint over damp wood or MDF.
Repair chips and smooth damaged spots
Fill small dents, holes from old hardware, and shallow chips with a quality wood filler. Let it dry, then sand it smooth so the repair blends into the surrounding surface. If you are changing handle placement, fill the old holes before priming and measure carefully for the new ones.
For peeling laminate or veneer, reattach any loose material with an appropriate adhesive before moving on. If the laminate is severely lifting or crumbling, painting may not hold up well enough to justify the effort.
Sand for adhesion, not for perfection
You do not need to sand all the way down to bare wood. The goal is to dull the existing glossy finish so primer can grip the surface. Use 120- to 150-grit sandpaper for slick or heavily coated cabinets, then finish with a finer grit if needed.
Sand corners and detailed door profiles by hand. After sanding, vacuum away dust and wipe surfaces with a clean, slightly damp microfiber cloth or tack cloth. Dust left behind can create a rough finish that is especially noticeable on dark cabinet colors.
Apply a bonding primer
A high-quality bonding primer is your insurance against peeling. This is particularly important for laminate, previously painted cabinets, glossy factory finishes, and cabinets near a steamy shower or tub.
Apply a thin, even coat with a brush for grooves and edges, followed by a small roller for broad, flat areas. Avoid heavy coats. Thick primer can leave ridges, drips, and a textured look that will show through the paint. Let the primer dry for the full time listed on the label, then lightly sand any rough spots with fine-grit sandpaper.
Paint in thin, even coats
Use cabinet-grade paint formulated for durability. Stir it thoroughly, then apply a thin coat. Start with recessed panels, corners, and edges using an angled brush. Follow immediately with a foam or microfiber roller over the flat sections to create a smoother finish.
Do not keep brushing paint after it begins to set. Overworking the surface can leave drag marks and uneven sheen. Let the first coat dry completely, lightly sand only if the surface feels rough, remove dust, and apply a second coat.
Most cabinets need at least two finish coats. Dark colors, major color changes, and high-use vanities may benefit from a third thin coat. More paint is not always better. Several light coats are stronger and cleaner-looking than one thick coat that takes too long to cure.
Give the Finish Time to Cure
Dry to the touch is not the same as fully cured. Cabinet paint may feel dry within hours, but it can take days or even weeks to reach its full hardness, depending on the product, temperature, humidity, and ventilation.
Reinstall doors and hardware only after the paint can handle gentle contact without marking. For the first couple of weeks, avoid harsh cleaners, slamming doors, hanging wet towels from cabinet doors, or storing damp items inside the vanity. Use mild soap and water for routine cleaning once the finish has cured.
This waiting period matters in Northeast bathrooms, where cold weather can slow drying and summer humidity can extend cure times. Keep the room ventilated, use the exhaust fan, and follow the paint manufacturer's temperature guidelines.
Common Mistakes That Shorten the Life of Painted Cabinets
Skipping cleaning is the fastest route to peeling paint. So is applying paint directly over a glossy finish without sanding or using a bonding primer. Another common mistake is rushing reassembly. Doors that are stacked, closed, or rubbed against each other before the paint cures can stick together and pull the finish away.
Be realistic about what paint can solve. It can make an outdated vanity look cleaner, brighter, and more current. It cannot stop ongoing plumbing leaks, correct swollen cabinet material, or remove mildew caused by poor ventilation. Address those problems first so your updated bathroom stays looking fresh.
When Professional Cabinet Refinishing Makes More Sense
DIY painting is a practical option for homeowners with time, a ventilated work area, and cabinets in good condition. Professional cabinet refinishing may be a better fit when you need a more uniform sprayed finish, have extensive surface damage, are preparing a property for sale, or want to refresh multiple bathroom surfaces at once.
Majestic Bathtub & Tile Reglazing helps homeowners renew worn bathrooms without the disruption of major replacement. A professionally refreshed vanity, tub, tile, or countertop can make a bathroom feel cleaner and more appealing while helping you get more life from the surfaces already in place.
Choose a color and finish you will be happy to clean around every day, then give the work enough time to cure. That patience is what turns a simple cabinet paint job into a bathroom update that continues to look cared for long after the brushes are washed.


Comments