


How to Fix Chipped Bathtub Enamel at Home

A small chip can make an otherwise functional bathtub look neglected fast. If you are researching how to fix chipped bathtub enamel, the right solution depends on the size of the damage, the condition of the surrounding finish, and whether you need a quick cosmetic improvement or a long-lasting bathroom refresh.
A well-repaired tub is easier to clean, looks more hygienic, and helps the entire bathroom feel cared for. The goal is not simply to cover a white spot. It is to stop moisture from reaching the surface underneath and restore a smooth finish that does not draw attention every time you walk into the room.
What causes bathtub enamel to chip?
Traditional enamel tubs are typically cast iron or steel with a hard, glass-like coating bonded to the surface. Over time, that finish can chip after an impact from a dropped showerhead, heavy bottle, or tool. Chips can also appear where an older coating has weakened from harsh cleaners, constant standing water, or normal wear.
Not every “enamel” tub is actually factory enamel. Many older tubs have been refinished before, and the chip may be in a reglazed coating rather than the original surface. That distinction matters because a small chip in a sound tub can often be repaired locally, while peeling, widespread cracking, or dullness across the whole basin usually calls for professional reglazing.
How to fix chipped bathtub enamel safely
For a tiny chip with a stable surrounding finish, a bathtub repair kit can improve the appearance and provide short-term protection. These kits commonly include a two-part epoxy or porcelain repair compound that is mixed, applied, and sanded once cured.
Before starting, make sure the damaged area is dry. Repairing a tub immediately after a shower is a common mistake because moisture can become trapped beneath the repair material. Give the surface plenty of time to dry, and keep the bathroom well ventilated while you work.
Clean and prep the chipped area
Remove soap residue, body oils, and loose material around the chip with a non-abrasive bathroom cleaner. Avoid aggressive scrubbing powders or rough tools that can enlarge the damaged area. After cleaning, rinse thoroughly and dry the spot completely.
Use fine-grit sandpaper very lightly around the chip to remove any raised or unstable edges. The repair compound needs a clean, sound surface to grip. Wipe away sanding dust with a lint-free cloth, then allow the area to dry again.
If you see rust underneath a chip on a steel or cast-iron tub, remove the loose rust carefully before applying any filler. Rust left behind can continue spreading beneath the repair, causing the patch to fail sooner.
Apply a thin, level repair
Follow the kit directions exactly, especially if it uses a two-part product. Mix only the amount you can use within the stated working time. Apply the compound in thin layers with the included applicator or a small plastic spreader.
A slightly overfilled patch can be sanded level after it cures. A patch applied too thin may leave a visible low spot that holds water and attracts grime. Keep the repair confined to the chip rather than spreading material across a large area of the tub.
Color matching is often the hardest part of a DIY repair. White tubs are not all the same white. Some are bright white, while others have cream, almond, gray, or blue undertones. Even when the repair is smooth, a mismatched color may remain visible in direct light.
Let the repair cure completely
This step determines whether the fix lasts days, months, or longer. Respect the manufacturer’s curing time before exposing the area to water, bath mats, bottles, or cleaning products. Many repairs feel dry before they have fully hardened.
Once cured, sand gently if needed to blend a raised edge. Do not keep sanding in an effort to make the color disappear. Over-sanding can expose the repair or scratch the surrounding finish, creating a larger cosmetic issue than the original chip.
When a touch-up repair is the right choice
A DIY touch-up can make sense when the chip is small, isolated, and located away from a high-contact area. It is also a practical option for a homeowner preparing for guests, a landlord addressing minor wear between tenants, or a seller who needs to improve a bathroom’s appearance before listing a property.
Keep expectations realistic. A touch-up kit is usually a spot repair, not a full finish restoration. It may protect the damaged area and make it less noticeable, but it will rarely look as uniform or feel as durable as a professionally refinished surface.
Signs you need professional bathtub reglazing
A single chip is often manageable. Multiple chips, rust spots, spider cracks, peeling coating, permanent staining, or a rough, worn basin point to a larger finish problem. In these situations, patching each flaw one at a time can become a frustrating cycle of repairs without delivering the clean, updated result you want.
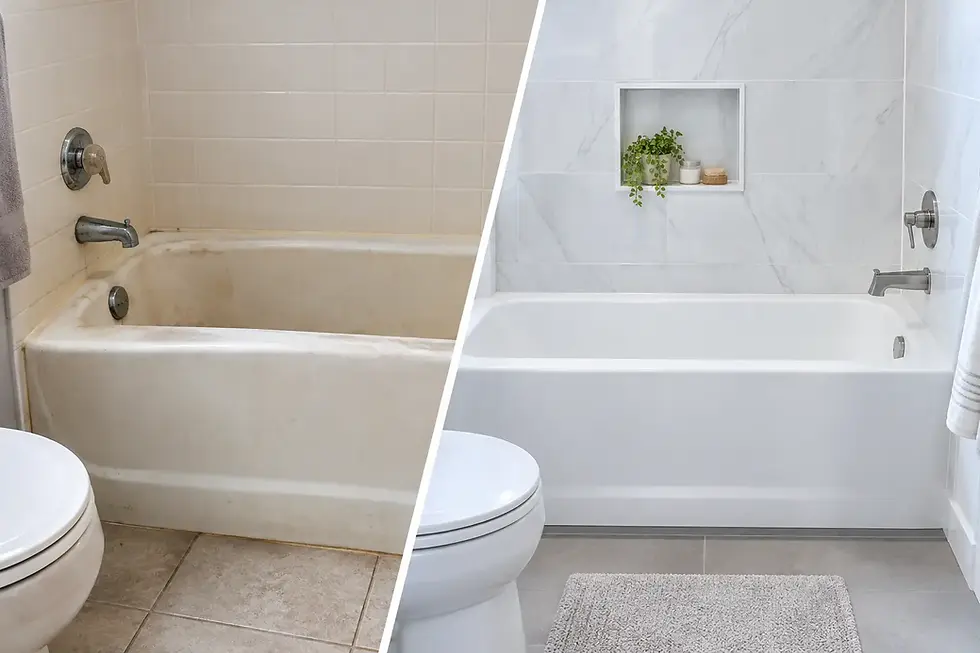
Professional reglazing restores the visible surface of the tub as a whole. The tub is prepared, damaged areas are repaired, and a new coating is applied to create a consistent color and smoother appearance. It is a smart alternative to replacement when the existing tub is structurally sound but looks tired, dated, or difficult to keep clean.
Replacement can involve demolition, plumbing adjustments, wall tile repairs, disposal costs, and days or weeks of disruption. Reglazing avoids much of that mess while giving a worn bathtub a fresh, bright appearance. For many Northeast homeowners and property owners, it is the more cost-conscious route to a bathroom that feels renewed.
Majestic Bathtub & Tile Reglazing helps homeowners, landlords, and sellers restore aging tubs without the expense and inconvenience of a full bathroom renovation. A professional assessment can confirm whether isolated repair or complete reglazing will deliver the better value for your tub.
Protect the repaired enamel after the work is done
Whether you choose a small touch-up or a professionally refinished surface, everyday care helps preserve the finish. Use a soft sponge or microfiber cloth with a non-abrasive cleaner. Rinse away soap and shampoo residue, and avoid leaving wet bottles, suction-cup mats, or metal objects in the tub for long periods.
Avoid bleach-heavy products, abrasive powders, steel wool, and harsh scouring pads. These can dull the finish and weaken a repaired area. If you need a bath mat for safety, choose one designed for use without aggressive suction cups, or remove and dry it after bathing when practical.
Also pay attention to plumbing. A dripping faucet may seem minor, but constant water hitting one area can stain the finish and shorten the life of a repair. Addressing leaks promptly protects both the tub and the bathroom around it.
A better-looking tub does not always require replacement
The best answer to how to fix chipped bathtub enamel is not always the fastest patch. A tiny, stable chip may only need careful touch-up work and proper curing. But if your tub has recurring chips, rust, peeling, or an overall worn appearance, refinishing can provide the cleaner and more complete transformation.
A fresh bathtub surface can make an older bathroom feel brighter, more sanitary, and more inviting without tearing out a fixture that still has years of useful life. Before committing to replacement, get a professional estimate and choose the repair that gives your bathroom the result it deserves.


Comments